Introduction
Cryptocurrency mining is an engaging and potentially lucrative activity for those interested in the blockchain technology space. Building your own mining rig can be a complex task, but with the right guidance, it can also be an incredibly rewarding experience. This comprehensive guide aims to walk you through the process step-by-step, providing detailed insights and pro tips to help you construct a robust mining setup.
Part 1: Pre-Assembly – Planning and Component Selection
Choosing Your Components
A successful mining rig starts with careful component selection:
- GPUs: Research the market thoroughly. Look beyond the upfront cost — calculate the efficiency (hash rate per unit of electricity). Consider cards like the NVIDIA RTX series or AMD’s RX series.
- Motherboard: The motherboard is the backbone of your rig. Look for one with enough PCI-E slots to support the number of GPUs you plan to run.
- CPU: The CPU doesn’t have a direct impact on mining, but you’ll want something efficient and reliable, like an Intel i3 or i5, or an AMD Ryzen 3 or 5.
- RAM: Get at least 8GB of DDR4 RAM. If you plan on mining using a Windows OS, 16GB may be more prudent.
- Power Supply Unit (PSU): Opt for a PSU from a reputable manufacturer and ensure it has a high enough wattage to support your GPUs plus a 20% overhead.
- Storage: A 120GB SSD should be more than enough for your mining OS and mining software. It’s faster and more reliable than a HDD.
- Frame: You can buy a pre-made mining frame or build your own. Good airflow and space management are key.
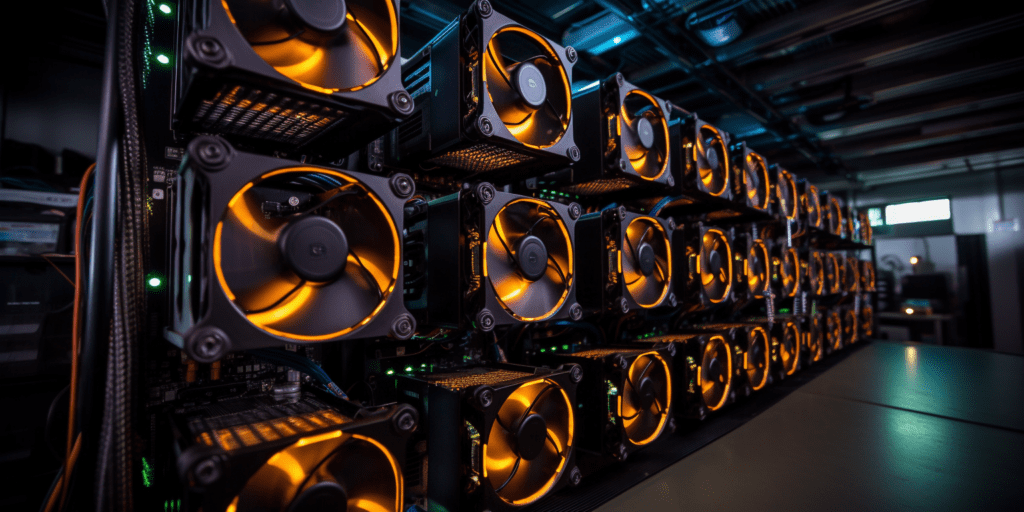
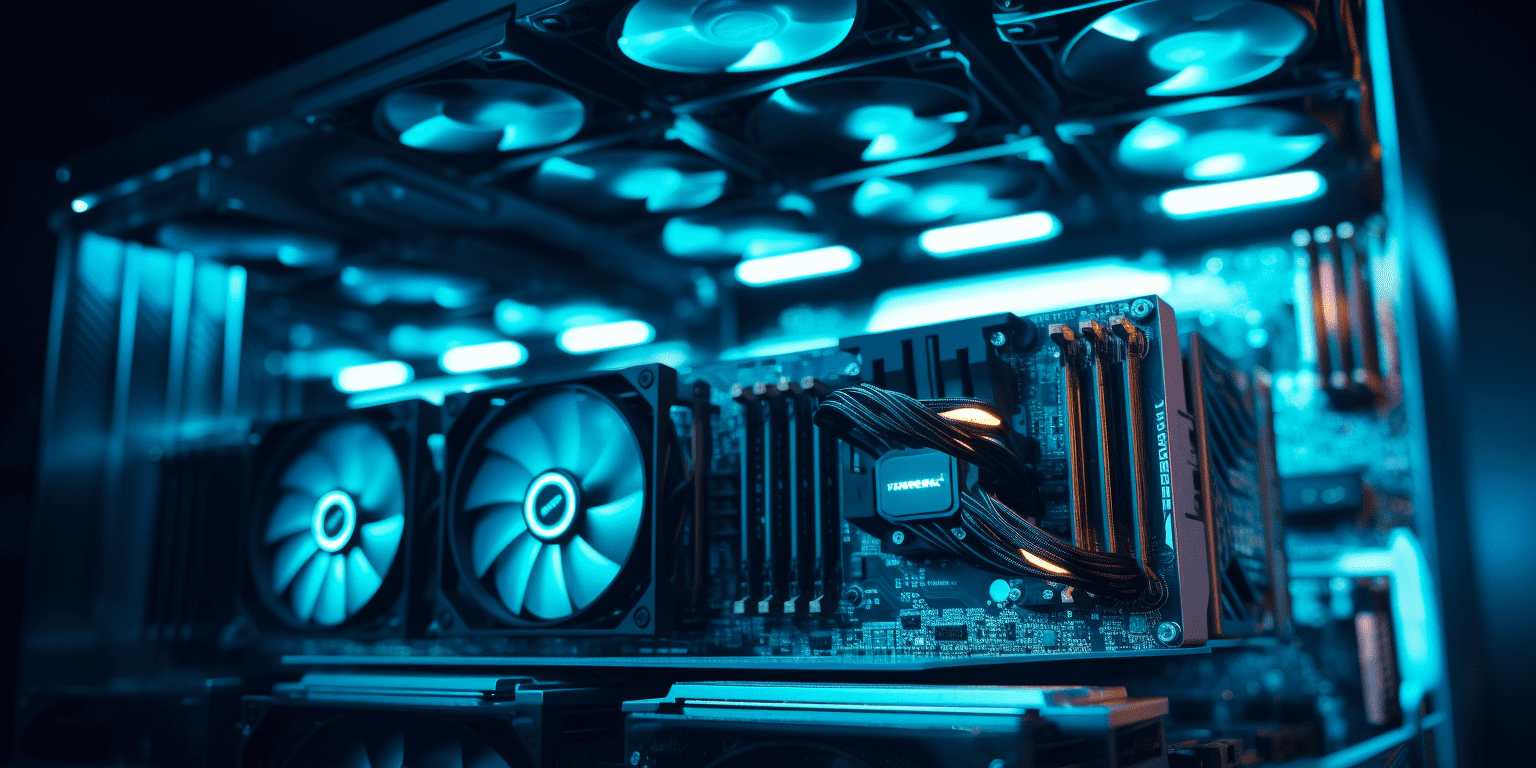
- Cooling: Calculate your cooling needs based on the number of GPUs. Plan for adequate case fans or even liquid cooling systems if necessary.
- Operating System and Software: Windows is user-friendly, but a dedicated mining OS like HiveOS can be more stable and efficient.
Part 2: The Build – Assembling Your Mining Powerhouse
Assembly Process
- Step 1: Assemble your frame carefully. Ensure it’s stable and has room for all components.
- Step 2: Install the CPU on the motherboard. Apply thermal paste evenly before attaching the cooler to ensure efficient heat dissipation.
- Step 3: Place the RAM sticks into their slots on the motherboard, ensuring they’re securely locked in place.
- Step 4: Install the PSU(s), securing them to the frame and connect the power cables to the motherboard.
- Step 5: Mount the GPUs onto the frame. Use riser cards to connect them to the motherboard, ensuring they’re spaced out to prevent overheating.
- Step 6: Fit the SSD and install your operating system and mining software, following the on-screen instructions for setup.
- Step 7: Cable management is crucial for airflow and maintenance. Tie and route cables neatly away from fans and other moving parts.

Part 3: Software and Testing – Bringing Your Rig to Life
Software Setup
- Step 8: Enter the motherboard’s BIOS. Adjust settings for maximum efficiency, ensuring features not required for mining, such as audio and USB ports, are disabled.
- Step 9: With your operating system up and running, download and install the latest GPU drivers from the manufacturer’s website.
- Step 10: Install your mining software and configure it to your mining pool. Set up your wallet addresses where the rewards will be deposited.
Testing and Troubleshooting
- Step 11: Power up your rig. Check that all GPUs are recognized by the system and the mining software.
- Step 12: Conduct a benchmark test using your mining software to ensure all components are functioning correctly and efficiently.
- Step 13: Keep an eye on the temperatures of each GPU during the initial run. Adjust your cooling system as needed.
Part 4: Maintenance – Keeping Your Mining Rig in Top Shape
Maintenance and Optimization
- Step 14: Regularly inspect and clean your rig. Dust and debris can reduce efficiency and increase the risk of overheating.
- Step 15: Keep your software updated. New updates can offer improved performance and stability.
- Step 16: Tweak your GPU settings to find the perfect balance. Use software tools to underclock and undervolt your GPUs to optimize their efficiency and longevity.
Conclusion
Constructing a mining rig from scratch requires patience and a willingness to learn. By following this guide, you’re equipping yourself with the knowledge to build a powerful and efficient mining machine. Remember, the crypto mining landscape is always changing — stay adaptable, informed, and ready to update your strategy as the market evolves.
Disclaimer: This article is for informational purposes only and should not be taken as professional investment or technical advice. Always consult with experts in the field of cryptocurrency mining and consider the environmental impact before starting your mining operation.


